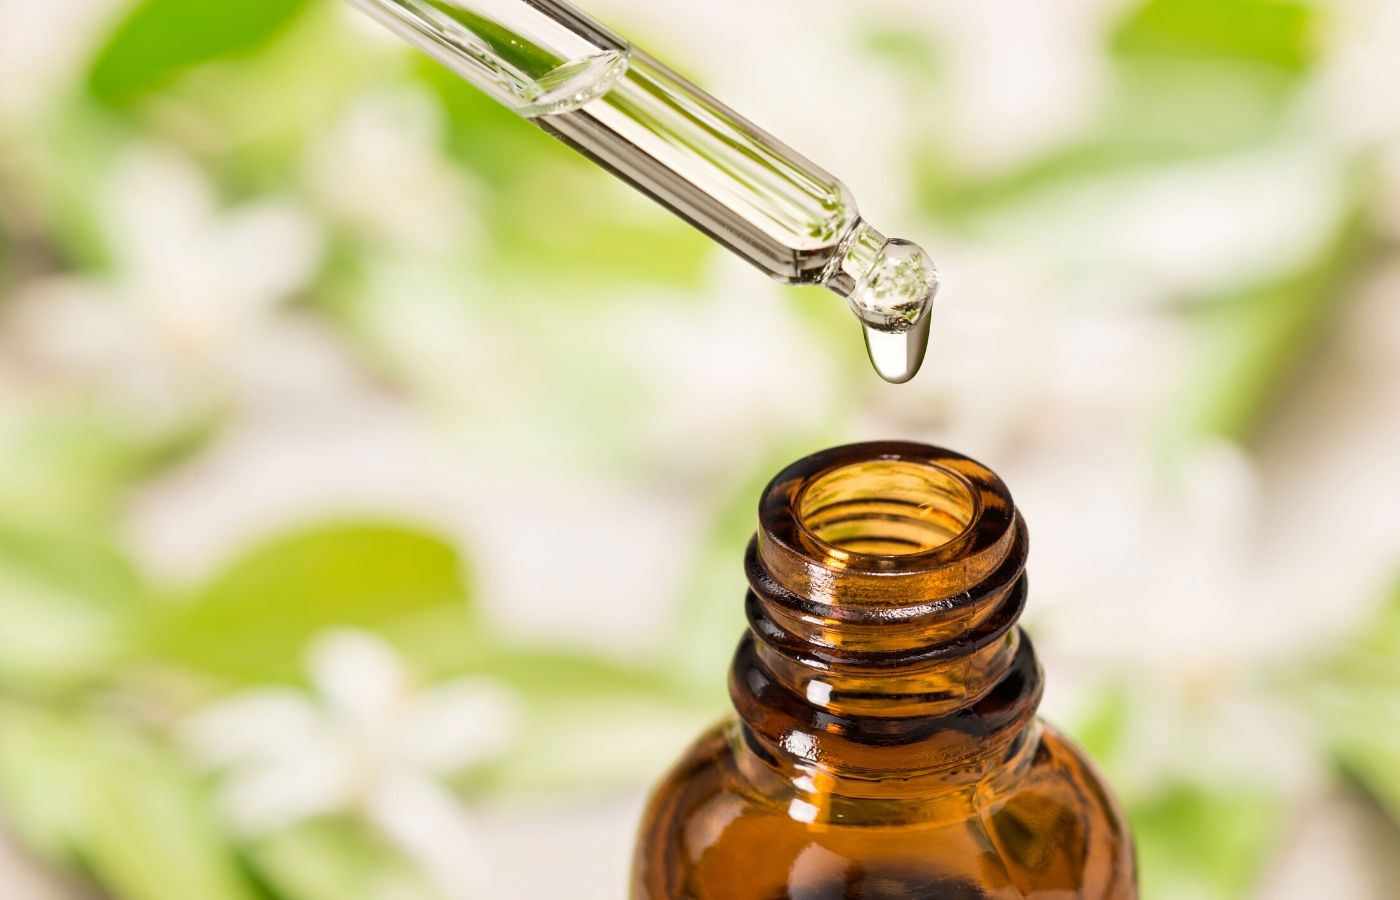
Learning how to make essential oil roller bottles is not difficult! In fact, anyone can do it regardless of your experience with oils! Read about my tips and techniques to topical application of these pre-made blends.

Using roller bottles makes using essential oils much easier and super convenient! I love how you can play around with different essential oil roller ball blends without wasting too much oil. Read on to discover everything you need to know about roller balls including creating roller ball blends, where to purchase roller balls, how to clean them and more!
I LOVE my roller bottles. They are actually what got me into first starting to use essential oils. They took away the intimidation of using them and allowed me to slowly ease into my essential oil journey while being able to experiment with different blends at any time or place.
Simple Roller Bottle Blends
Nighty Night Blend: 3 drops lavender, 1 drop chamomile
Stress Reducer Blend: 3 drops lavender, 1 drop sandalwood
Mood Booster Blend: 2 drops lemon oil, 1 drop peppermint, 1 drop rose
Focus Blend: 2 drops rosemary, 1 drop peppermint, 1 drop vetiver
Hormone Balance: 1 drops neroli, 2 drops clary sage, 1 drop frankincense
Pain Relief: 2 drops balsam, 1 drop copaiba, 1 drop frankincense
Mindfulness Blend: 1 drop lemon, 2 drops helichrysum, 1 drop ylang ylang
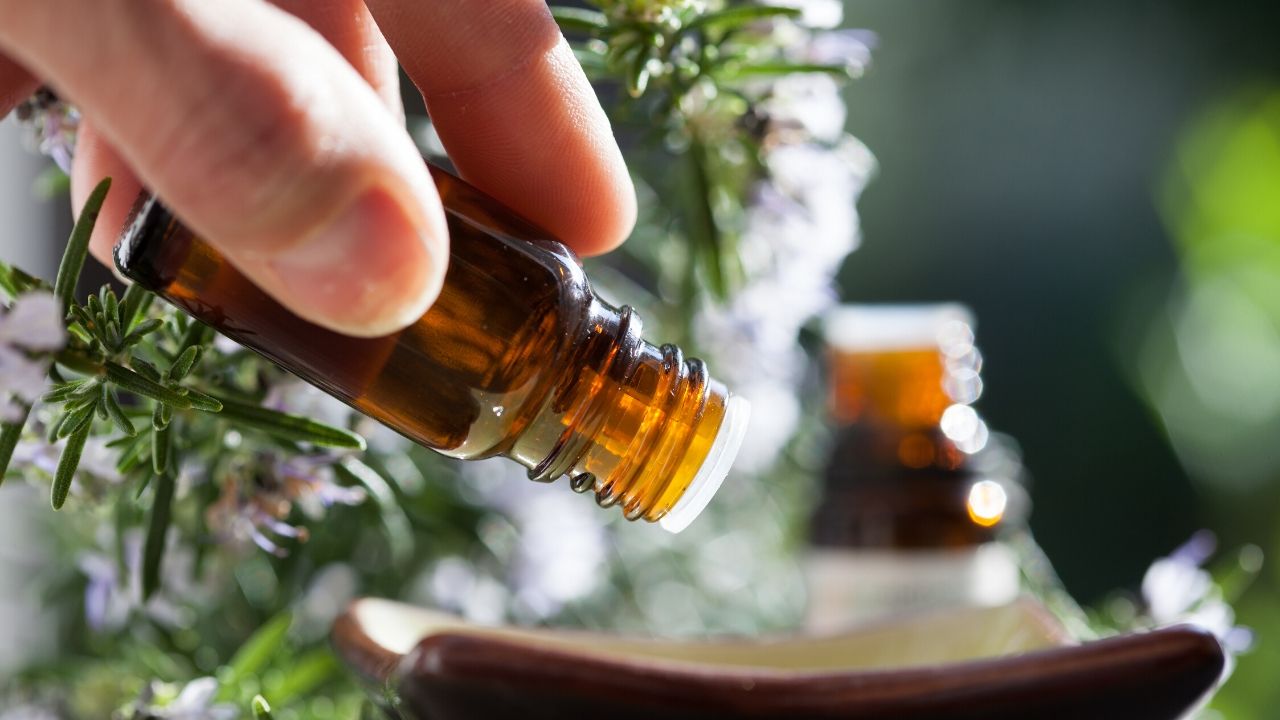
How To Make Your Own Roller Bottles
To make your own DIY roller bottle blends, all you need is four items:
- Carrier oil of choice
- Essential oil(s) of choice
- Dropper/measuring spoon
- Mini funnel
It can be a complicated thing or simple. The mini funnel is for filling your carrier oil without spilling.
There is actually a “strategy” to creating essential oil blends. Although you can totally add your favorite aromas together and name it, “The Best Oil Ever”, that may not create the best, most harmonious blend.
There is actually a science behind creating those perfectly blended oils retailers bottle and sell. So in order to get the MOST out of your blends, you first need to consider the notes of each oil you use! Notes basically describe what type of oil your working with. It is like their own personality.
Once you understand each oil “note”, you will be on your way to creating the best blends ever!
How To Measure Out your Oils
Before your measure out your roller bottler blends, you need to understand how to measure properly. Here are two options for measuring out your oils.
Option #1: Count your drops!
Most people will mix their blends by counting drops of oil. By counting the number of drops, you can easily keep track and alter your roller bottle blends as needed.
BUT did you know that “drops” can vary? One drop of oil for YOU may be more/less than one drop of oil for ME. It depends on the size of your orifice reducer (the hole in your dropper). The size of your oil drops can also range depending on the type of oil you use!
Things to keep in mind:
- The SIZE of those dropper bottle or “orifice reducers” actually vary. Some may release larger oil drops than others.
- The viscosity and temperature of the oil will affect the size of your drops.
So what does this mean?
All this means is that when it comes to creating blends, measuring based on drops alone are just an estimate and are NOT exact.
Does this matter? Not really. If your orifice reducer releases a bit more oil than mine does, it wont be a HUGE difference and it shouldn’t affect you especially if you are sticking to the recommended dilution guidelines. If your skin is super sensitive, I would err on the side of caution as use less drops then recommended.
Option #2: Use a measuring spoon!
The only reason you need to measure your oils is if you are very sensitive to a certain essential oil or you are creating blends for infants/babies or elderly people. To do this, simply use teaspoons you would use in baking. Using a teaspoon will ensure the amount is exact regardless of the size of your drops.
How Many Drops of Oil Should You Add To Your 5ml/10ml Roller Bottlers?
Since counting “drops” is the easiest and most popular way to blend oils, we are going to refer to “drops” when creating our roller bottle blends.
Many roller bottles come in a few different sizes. The 5 ml and 10 ml bottles are the most common. Because 10 ml roller bottles seem to be the most popular size, I will talk about creating blends using that size.
If you want to blend your own oils for a 5 ml, 15 ml or even 30 ml, simply divide or multiply the drops you would use for your 10 ml bottle.
See chart below to help to determine the exact number of drops!
The number of drops in a 10ml roller bottle is approximately 200. If you follow a standard 2% dilution rate, this means you will add about 4 drops of essential oil to your carrier oil.
What Is The Best Dilution Rate?
I wish I could tell you THIS is the exact number of drops to add however there is no “best” dilution rate. There is a recommended dilution rate of 2-3%. This is for healthy adults who plan on using the blend DAILY.
With that said, some people use as much of a dilution rate as 10% which would be up to 20 drops per 10 ml. This is a personal preference and should only be used if you know your not sensitive to oils and have been using oils for a long period of time. Check with your doctor or a certified aromatherapist to make sure you are using a safe ratio.
Consider The “Note” of each Essential Oil Before Blending!
Did you know that each essential oil has its own “note” classification? They are classified as either a TOP, MIDDLE or BASE note oil.
Because essential oils are made up of so many different chemical compounds, each oil evaporates at a different rate. Oils that evaporate quickly are called a “top note” oil. Oils that evaporate slowly are called “base note” oils. And oils that evaporate at a rate that falls in the middle of those two are simply called “middle note” oils.
The idea when creating your own “diy” blends is to choose a combination of top, middle AND base note oils. This way, when your oils evaporate, you get the most out of your blends!
Here is a list of essential oils categorized by their note.
Your top note oils should make up about 15 – 25% of the blend. Middle notes 30 – 40% of the blend. Base notes 45 – 55% of the blend.
To give you a better idea when blending your oils, if you are filling a 10 ml roller bottle: you can use 3 drops of Orange Oil (top note) with 4 drops of Rosemary Oil (middle note) and 5 drops of Ylang Ylang Oil (base note). This blend would create one that is most harmonious and would not mask or overpower any of the other oils.
Keep in mind this blend is a total of 12 drops out of 200 total drops making it a 6% dilution rate.
Hot, Warm and Cool Oils
It is known that the beneficial properties can be heightened when essential oils are used in combination with other carefully chosen oils. Try to balance your oils by using a warming and a cooling oil. Hot essential oils are better for the colder months.
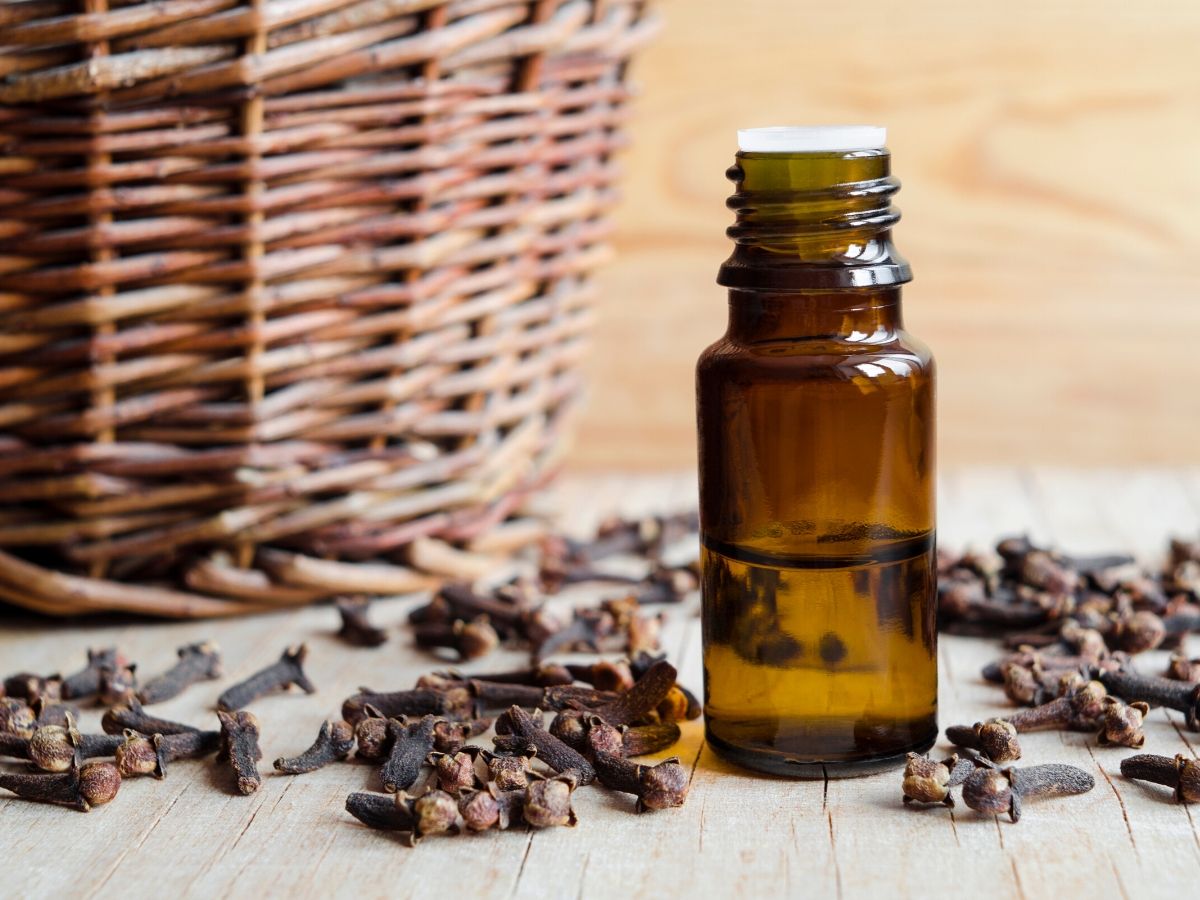
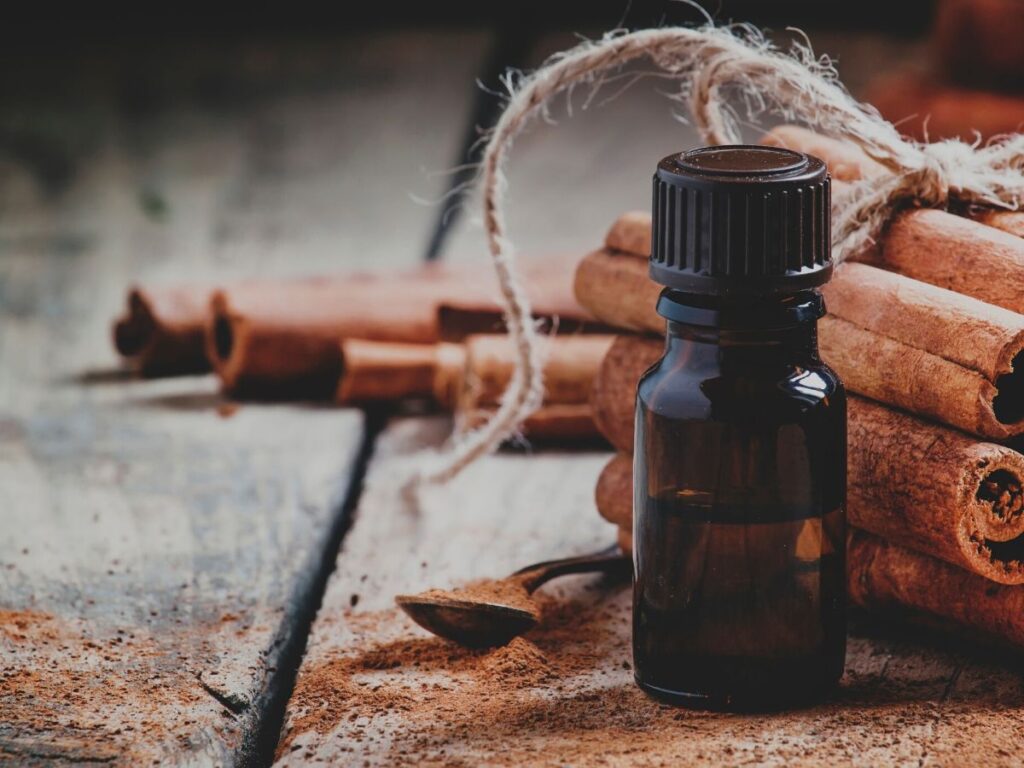
Hot Oils
These oils are not really “hot” but they can give you a warming sensation when applied directly to the skin so it’s nice to keep this in mind especially in the cooler months.
- oregano
- thyme
- clove
- cinnamon
- cassia
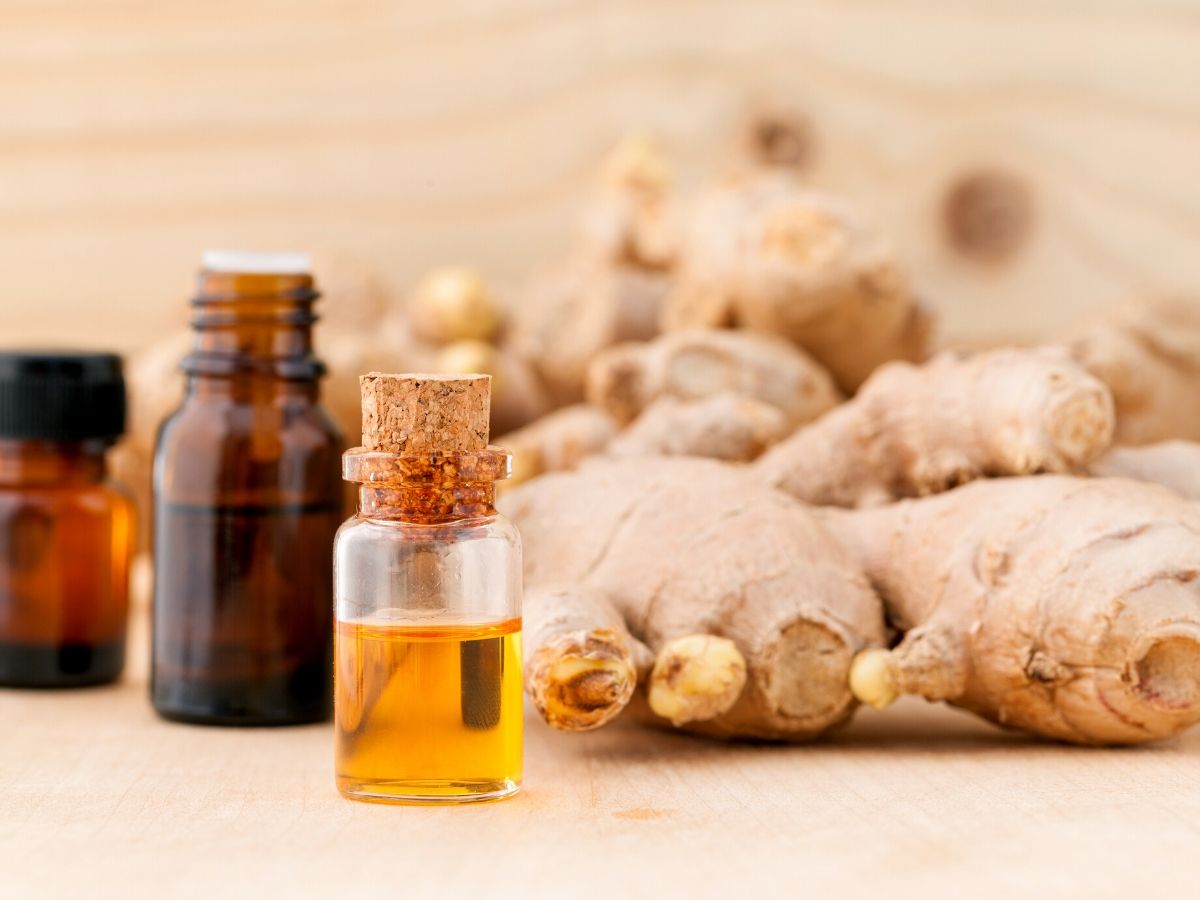
Warm Oils
Warming oils are great in the coolers months and can be balanced with cooling oils for the best results.
- black pepper
- clove
- wintergreen
- lemon grass
- cardamon
- eucalyptus
- ginger
- juniper
- rosemary
- birch
Cool Oils
Cooling oils are great for the warmer months of the year.
- Vetiver
- Sandalwood
- Lavender
- Eucalyptus
- Spearmint
- Peppermint
The BEST Areas On Your Body To Apply Your Roller Ball To
You can apply your essential oil rollers anywhere you like. There are no rules. With that said, there ARE recommended areas that can help you get the most benefits from your blends. Here are the top 4 recommended areas:
- bottom of your feet– your feet have some of the largest pores on your body
- behind your ears– the skin here is more absorbent plus your mastoid pressure point is located behind the ear which can help you gain better relief from pain, inflammation, and swelling.
- on your temples– a pulse point that can allow the oils to enter your bloodstream faster. It is a great location for relieving headaches.
- on your wrists- the skin here is thinner and also is another pulse point containing a major artery.
Other areas you can apply your roller balls are along this spine, side of your neck, chest, belly/abdomen or back of your knees.
Before Purchasing Your Roller Bottles:
Not all essential oil rollers are equal. Although there are some pretty ones out there, you want to make sure they are effective and most importantly, will keep your oils shielded from the light.
The two things you should look for are amber or cobalt colored roller bottles. Also always purchase GLASS bottles. You don’t ever want to add your essential oils to plastic.
Here are some awesome and inexpensive roller bottles you may like:
Empty 5ml Bottles” target=”_blank” rel=”noreferrer noopener nofollow”>5 ml Amber Roller Bottles
Empty Glass 15ml Bottles“>15 ml Amber Roller Bottles
10 ml Cobalt Roller Bottle KIT

Other roller bottle blending supplies you will need:
- Essential Oils
- Fractionated Coconut Oil” target=”_blank” rel=”noreferrer noopener nofollow”>Carrier Oil
- Roller Bottle Labels
- Mini Oil Funnel
- Orifice (Cap) Remover
- Roller Bottle Storage Case
Here is a great kit that has a carrier oil, bottles, a funnel, and a cap opener!
Experimenting With Blends
Now that you have all the information and supplies you need to create your oil blends, let the fun begin! Time to start blending!
Have fun experimenting with your own blends if you feel comfortable or you can follow some of the blends below as guidelines!
These blends use 4 total drops of essential oil meant to fill 10 ml roller bottles. Keep in mind this is a 2% dilution rate. Use less or more depending on what you’re needs are!
Oil Blending Tips
You will be taking lots of whiff when creating your own blends so having some coffee beans on the side in a small cup will help to “neutralize” your smell between whiffs. I also suggest using cotton balls or perfume strips to drop your blends onto.
What I like to do is roll my blend onto a perfume strip and let it dry. Then I come back after 20-30 minutes to smell the blend again. I want to see if there are still some lingering aromas. If not, I will add another drop or two of my base note oil since base note oils are what stick around the longest.
Final Thoughts
First, have fun!! I know it seems like there are many “rules” to follow when creating your own unique essential oil blends but there are not! As long as you are safely applying your oils, you have nothing to worry about. As long as you are using the quality essential oils that are therapeutic grade, you will feel the benefits!
I’M A BEGINNER AT MIXING OILS, AND MAKING MY OWN PERFUME, AND I MUST SAY THIS WAS VERY HELPFUL TO ME.